
In the previous blog post, we wrote a simple Python script to multiply two matrices. While that was not too much of a hassle and was (hopefully) a fun project, it is not the most efficient way to work with matrices. As I have briefly mentioned in the post, there is actually a Python library that we can use. That library is NumPy.
What is NumPy?
NumPy is a Python library that makes working with multi-dimensional arrays a lot simpler and faster. It comes with a lot of mathematical and statistical functions that we can perform on these arrays.
A multi-dimensional array is a list that consists of other lists (i.e. a list where each element is, in turn, a list).
In the previous blog post, we used a two-dimensional array to store our matrices.
For instance, if we have the matrix below

we can store it as matrixA = [ [2, 3, 6], [5, -1, 12] ].
The first element in matrixA is the list [2, 3, 6]. This represents the first row of matrixA. The second element [5, -1, 12] represents the second row.
In order to use NumPy to work on matrixA, we need to convert it into a NumPy array (we’ll learn how to do that later). A NumPy array comes with many built-in functions that we can use to simplify our work. You can think of it as a more advanced type of Python list.
However, note that there are a few difference between a NumPy array and a Python list. One important difference is that NumPy arrays have a fixed size at creation, unlike Python lists which can grow dynamically. In addition, the elements in a NumPy array are all required to be of the same data type.
A growing plethora of scientific and mathematical Python-based packages uses NumPy arrays. An example is the popular Pandas package that we’ll cover in future blog posts.
How to Install NumPy
Before we can use NumPy, we need to install it. The easiest way to do it is to use Pip.
To do that, you need to do the following:
- Ensure that Python is installed on your system
- Ensure that Pip is installed
- Use Pip to install NumPy
Step 1: Ensure that Python is installed on your system
If you are reading this blog post, chances are you are already familiar with Python and have installed Python on your system. Nonetheless, for the sake of completeness, let’s just double-check that.
First, launch your Command Prompt (for Windows users) or Terminal (for Mac/Linux users) and enter the following command:
python
If you get something similar to the screen below (i.e. no errors), you’re good to go.

However, if you get an error message,

it means you either do not have Python installed on your computer, or Python is not saved in the path environment variable of your computer.
If you have not installed Python previously, please head over to https://learncodingfast.com/how-to-install-python/ for detailed instructions on how you can install the latest version of Python. For Windows users, do ensure that you check the “Add Python to PATH” option.
If you have already installed Python but still get the error message, you need to add Python to your computer’s path.
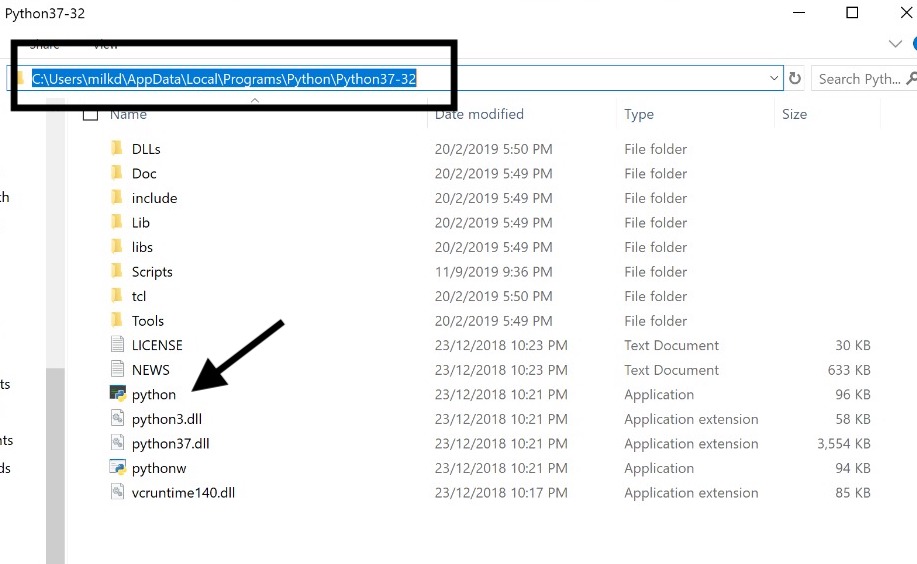
For Windows users, you need to figure out where Python is on your system. Python is normally installed in C:\Users\<username>\AppData\Local\Programs\Python\ or its subfolder (<username> refers to your Windows username).
Head over to https://www.computerhope.com/issues/ch000549.htm for instructions on how to add this path to your computer’s path.
For Mac/Linux users, Python should be added to your Path automatically when you install it. If you still encounter problems, you can check out this YouTube video for help: https://www.youtube.com/watch?v=PUIE7CPANfo
Step 2: Ensure that Pip is installed
Now that we have installed Python on our systems, we need to ensure that Pip is installed.
Pip is an inbuilt package management system that comes with newer versions of Python. We can use it to install, update, or delete any official package.
If you are using an older version of Python, you may need to install Pip manually.
First, let’s check if you have Pip installed on your system. Open a Command Prompt or Terminal and enter the command
pip --version
If you do not get an error, pip is already installed on your system.
If you get an error, you need to download and install Pip manually. To do that, right-click on the link https://bootstrap.pypa.io/get-pip.py and save the link as get-pip.py.
Next, launch a Command Prompt or Terminal and run the command
python <path to get-pip.py>
For instance, if you saved get-pip.py on your Windows desktop, you’ll run the command
python C:\Users\<username>\Desktop\get-pip.py
(Remember to replace <username> with your own username)
With that, Pip should be successfully installed on your system.
Step 3: Install NumPy
Now that we have installed Python and Pip, installing NumPy is straightforward.
Simply open a Command Prompt or Terminal and run the command
python -m pip install --user numpy
That’s it! If all goes well, NumPy is now successfully installed on your computer and you are ready to embark on your data analysis journey.
If you run into any installation issues, feel free to leave a comment and I’ll try to resolve it.
Using NumPy to Multiply Matrices
Now that you have installed NumPy, using it is very straightforward.
That code below demonstrates how you can use NumPy to multiply two matrices.
import numpy as np
matrixA = [ [1, 2, 3] , [4, 5, 6]]
matrixB = [ [7, 8, 9, 10], [11, 12, 13, 14], [15, 16, 17, 18] ]
matrixA_np = np.array(matrixA)
matrixB_np = np.array(matrixB)
print(np.matmul(matrixA_np, matrixB_np))
Let’s run through the code.
First, we need to import NumPy. It is customary that we import it as np.
Next, we create two Python lists to store the two matrices below:


In order to use the methods in NumPy, we need to convert the Python lists into NumPy arrays; we do that on lines 4 and 5.
After converting, we simply use the NumPy built-in method matmul() to multiply the two matrices.
That’s it. If you run the program, you’ll get
[[ 74 80 86 92]
[173 188 203 218]]
as the output.